
How to Start a Community Seed Bank: A Guide to Seed Sovereignty in SA
Key Takeaways
- Stock only open-pollinated seeds to ensure viable offspring across generations.
- Dry seeds to below eight percent moisture content before sealing.
- Store seeds in airtight glass jars kept in cool and dark rooms.
- Perform paper towel germination tests annually to verify seed viability.
A community seed bank is a decentralised agricultural resource designed to preserve locally adapted crop varieties and protect regional biodiversity. By building a secure storage facility and training members in seed-saving techniques, communities can launch a sustainable library that safeguards their local food supply against climatic and economic shocks.
Why does a seed-sharing network protect crop resilience?
Agricultural monoculture narrows the genetic base of local food systems and actively undermines biological resilience. A seed-sharing network directly counters this vulnerability by preserving diverse plant genetics. When farmers save and replant seeds from crops that survived local droughts or pest outbreaks, they actively breed regional resilience into the DNA of the harvest. These locally adapted seeds are known as landraces. The UN Food and Agriculture Organisation (FAO) found that active community seed banks can increase local crop diversity by up to 30 percent within just three growing seasons.
Storing seeds is much like managing a household pantry. If you put damp flour into a sealed jar, it moulds and ruins the entire batch. Seeds are living organisms that require the exact same aggressive moisture control before sealing to prevent biological decay and fungal rot. Without strict moisture management, the seed embryo respires too quickly and dies long before the planting season begins. For a deeper understanding of how these resilient systems interact at ground level, FTFA's resources on Agroecology provide detailed operational guidance.
The Power of Heirloom and Open-Pollinated Seeds
To build a successful seed bank, you must focus exclusively on open-pollinated and heirloom varieties. Open-pollinated seeds are fertilised naturally by insects, birds or the wind. As long as they are isolated from different varieties of the same species, they will produce plants that are genetically identical to the parent.
Heirloom seeds are a specific category of open-pollinated seeds that have been passed down through generations, often possessing deep cultural significance and exceptional flavour profiles. In the South African context, cultivating heirloom varieties is a vital strategy for climate adaptation. Over decades of local cultivation, these plants have naturally adapted to regional soil conditions, water scarcity and local pest pressures.
The network must strictly prohibit the inclusion of commercial F1 hybrid or genetically modified seeds. Hybrids are created by crossing two different inbred lines. While they may produce uniform crops in their first year, they do not breed true. Saving and planting seeds from a hybrid will yield unpredictable, inferior or entirely sterile crops in the second generation. Educating your founding members to identify and isolate heirloom seeds is the most critical first step in protecting the integrity of the bank.
The Social Fabric of Seed-Sharing & Seed Saving Networks
A community seed bank is more than a physical storage room; it is a dynamic social network that relies on the active participation of local farmers. Seed-sharing networks facilitate the free exchange of genetic material and traditional ecological knowledge. When farmers gather for annual seed swaps, they share vital information regarding planting schedules, natural pest management and drought mitigation strategies.
This collaborative model is particularly important in rural South African communities where commercial seed is often prohibitively expensive. By establishing a decentralised sharing network, communities reduce their financial dependence on multinational agribusinesses and reclaim their food sovereignty.
How do you prepare to build a community seed bank?
Before collecting any seeds, you must establish physical infrastructure and a rigid intake protocol. Identify a central location that remains cool and dark throughout the year, as temperature fluctuations degrade seed viability rapidly. You must procure airtight glass jars, silica gel packets and distinct labels to build the physical library.
Next, form a management committee to govern intake and establish a tracking ledger. This ledger must record the seed variety, harvest date, source farm and current germination rates. Meticulous record-keeping is the backbone of any successful seed bank.
How do you launch and maintain the seed library?
Start by sourcing initial seed stock from established open-pollinated suppliers or veteran local farmers. Once the network has foundational stock, you must process incoming seeds carefully to ensure they survive storage.
Instruct all contributing members to harvest seeds only from their healthiest and most productive plants. Do not save seeds from diseased crops because many pathogens transfer directly through the seed coat. Members must clean the seeds thoroughly to remove all chaff, fruit pulp and stems.
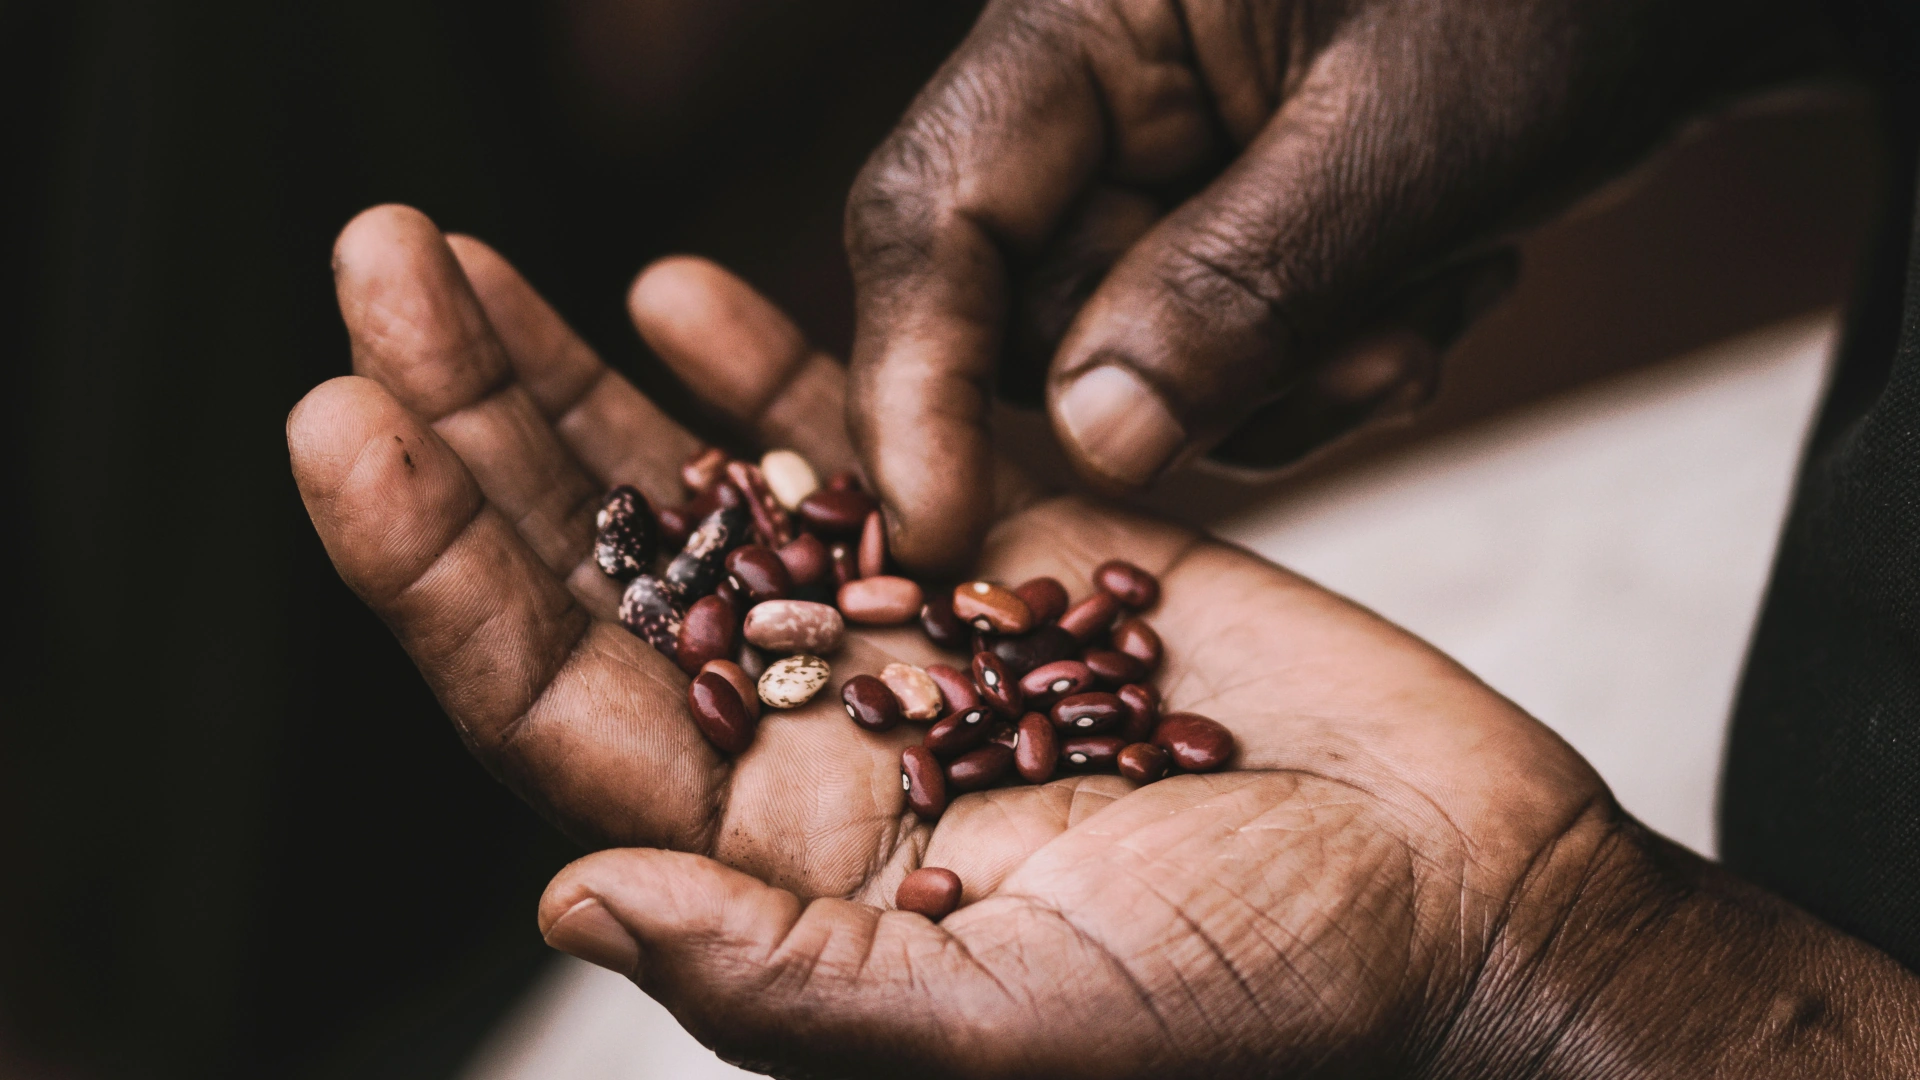
Dry the seeds completely before storage. Spread clean seeds in a single layer on newspaper in a warm, well-ventilated room out of direct sunlight. You must achieve a moisture control target of below eight percent. A simple field test is to bend a large seed like a bean. If it bends, it contains too much water. If it snaps cleanly, it is dry enough for storage.
Before placing the jars onto shelves, update the central database. Log the exact weight of the incoming seed batch into the tracking ledger. Assign a unique batch number to each jar so you can trace poor germination rates back to a specific farm or harvest season.
Place the dry seeds into airtight glass jars. Add a desiccant packet to each jar to absorb residual humidity. Label every jar clearly with the common name, scientific name and the date of harvest. Store these jars on shelves in a cool room.
Finally, establish a borrowing protocol. When a farmer takes seeds from the network, they must sign an agreement to return twice the volume of seeds at the end of their harvest. This mandatory return policy ensures the network grows its inventory exponentially each season.
Seed Quality and Viability Testing
Conduct annual quality control checks. Before the spring planting season begins, you must test the stored inventory. Place ten seeds of a specific variety between damp paper towels inside a sealed plastic bag. Keep the bag in a warm location and count how many seeds sprout after seven days. If eight seeds sprout, you record an 80 percent germination rate on the jar label. If the rate drops below 50 percent, you must discard the batch and source fresh stock.
How do you adapt storage for different seed types?
Plant families require specific processing and storage techniques to maintain viability. You must adjust your approach based on the crop category:
- Wet-Fruiting Crops: Tomatoes and cucumbers require a fermentation process to remove the germination-inhibiting gel surrounding the seed. Soak these seeds in water for three days until a fungal layer forms before rinsing and drying.
- Brassicas: Cabbage and broccoli seeds cross-pollinate easily. Instruct members to isolate these flowering plants by at least 800 metres to prevent accidental cross-breeding.
- Legumes: Beans and peas are highly susceptible to weevil infestations. Freeze dried legume seeds for 48 hours before placing them in the main storage facility to kill any dormant pest eggs.
- Indigenous Trees: Many native tree seeds require scarification to break physical dormancy. Store these in breathable paper bags rather than sealed jars to mimic their natural dry season conditions. Always check current SANBI guidance regarding the transport of indigenous genetic material across provincial lines.
Quick Reference Guide
Primary Tools & Materials:
- Airtight glass storage jars
- Silica gel desiccant packets
- Paper towels and plastic bags for testing
- Adhesive labels and permanent markers
- Seed inventory tracking ledger
Situational Context Tools:
- Fine mesh sieves for cleaning small seeds
- Chest freezer for pest control in legumes
- Secure a cool and dark room for the central library.
- Source initial open-pollinated seeds from local farmers.
- Harvest seeds from only the healthiest plants.
- Clean all chaff and fruit pulp from the seeds.
- Dry seeds in a well-ventilated room out of direct sunlight.
- Perform the snap test to verify adequate dryness.
- Seal dry seeds in glass jars with desiccant packets.
- Label every jar with the variety and harvest date.
- Execute paper towel germination tests annually.
- Distribute seeds with a mandatory return agreement.
- Step 6: A close-up photograph demonstrating the snap test on a dried bean seed.
- Step 9: An overhead photograph showing ten sprouted seeds on a damp paper towel.
To understand how robust seed networks support broader food systems, explore FTFA's resources on Food Security.
Written By
Research Team
Comprising experts from diverse departments, the Food & Trees for Africa (FTFA) research team drives informed strategies to advance environmental sustainability, climate resilience and food security.
Found this resource useful?
Help us continue building an open-source knowledge economy for environmental sustainability. Your support funds our ongoing research.